Nana Ruth kept a jar of pickled something in her icebox at all times. Pickled beets in the summer. Pickled cucumbers in the fall. I didn’t think much about it at the time — it was just what she did. But now that I’m feeding a family of five and trying to make every meal taste like something, I finally get it.
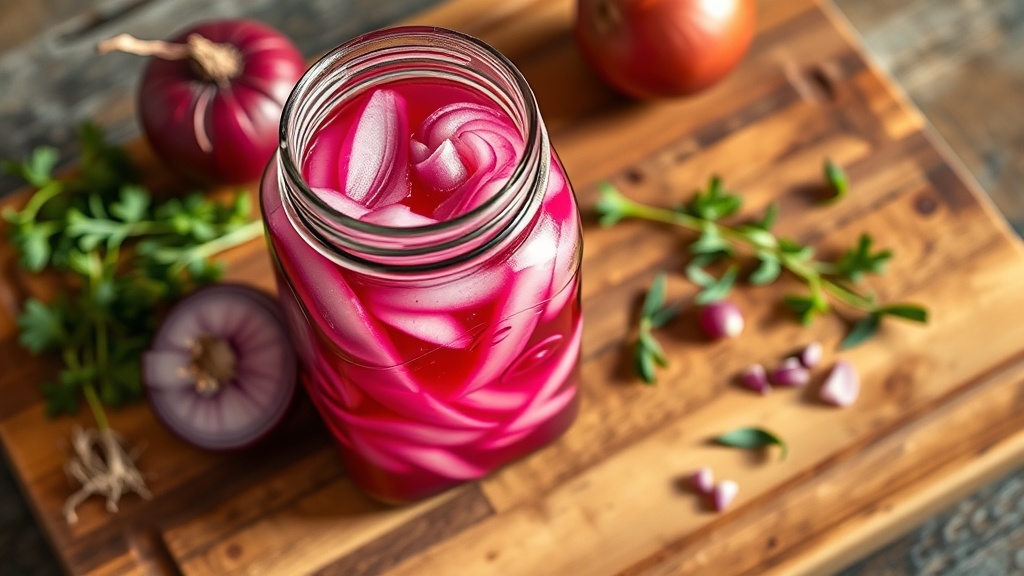
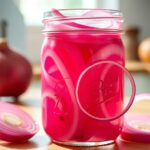
Quick pickled onions are one of those things that sound like a fancy restaurant trick but are actually the easiest, cheapest thing you can make. Slice a red onion. Pour vinegar and water over it. Wait thirty minutes. That’s it. You now have a jar of bright pink, tangy, crunchy onions that make absolutely everything taste better.
I put them on tacos. Jake puts them on burgers. Clara discovered they’re good on grilled cheese. They turn a boring Tuesday sandwich into something that feels intentional. And they cost about fifty cents to make.
How to Make Quick Pickled Red Onions
Slice the onions thin. Use a sharp knife or mandoline to get even, thin rings. Thinner slices pickle faster and have a better texture. Separate the rings and pack them into a clean jar or glass container.
Heat the brine. Combine apple cider vinegar, water, sugar, and salt in a small saucepan. Bring to a simmer, stirring until the sugar dissolves. You can add whole peppercorns, a bay leaf, or a few red pepper flakes for extra flavor.
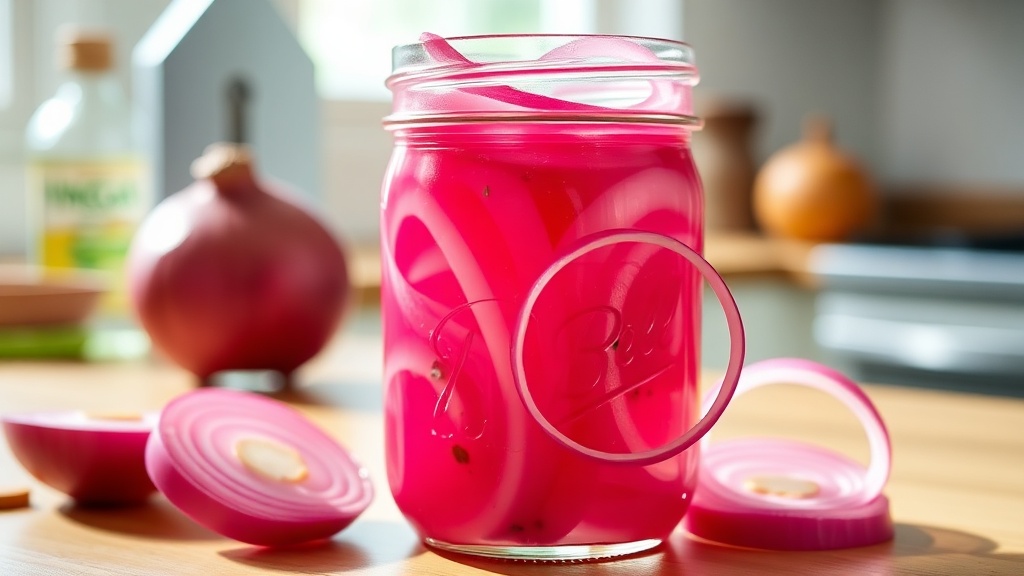
Pour and wait. Pour the hot brine over the onions — they should be fully submerged. Let sit at room temperature for at least 30 minutes. They’re good at 30 minutes, better at 1 hour, and incredible after overnight in the fridge.
Store in the fridge. Cover and refrigerate. They keep for 2-3 weeks and get more flavorful over time. Use them on tacos, sandwiches, burgers, salads, grain bowls — literally everything.
Quick Pickled Red Onions
Pin Recipe
Ingredients
Method
-
Slice the red onion as thin as you can — a mandoline is ideal, but a sharp knife works fine. Separate the rings and pack them into a clean pint jar or glass bowl.
-
In a measuring cup, stir together the warm water, vinegar, sugar, and salt until the sugar and salt dissolve completely.
-
Pour the brine over the onions, making sure they’re fully submerged. Add peppercorns and bay leaf if using. Press onions down with a spoon if they float.
-
Let sit at room temperature for at least 30 minutes. The onions will turn bright pink almost immediately. For best flavor, refrigerate for at least 1 hour before using.
-
Store in the fridge with a lid for up to 2 weeks. They get better with time.
Notes
Common Questions
Quick Pickled Red Onions
Ingredients
- 1 large red onion thinly sliced into rings or half-moons
- 1 cup white vinegar or apple cider vinegar
- 1 cup warm water
- 1 tablespoon granulated sugar
- 1 teaspoon salt
- 1/2 teaspoon whole black peppercorns optional
- 1 bay leaf optional
Instructions
-
Slice the red onion as thin as you can — a mandoline is ideal, but a sharp knife works fine. Separate the rings and pack them into a clean pint jar or glass bowl.
-
In a measuring cup, stir together the warm water, vinegar, sugar, and salt until the sugar and salt dissolve completely.
-
Pour the brine over the onions, making sure they're fully submerged. Add peppercorns and bay leaf if using. Press onions down with a spoon if they float.
-
Let sit at room temperature for at least 30 minutes. The onions will turn bright pink almost immediately. For best flavor, refrigerate for at least 1 hour before using.
-
Store in the fridge with a lid for up to 2 weeks. They get better with time.
Recipe Notes
Variations: Add a sliced jalapeno for spicy pickled onions. Add fresh dill and garlic for a sandwich-perfect version. Double the sugar and add a cinnamon stick for sweet pickled onions that are incredible on a cheese board.
What I Use for This Recipe
A couple things from my kitchen that make this one easier.

Pancakes slide right off. Eggs never stick. The pan the kids are actually allowed to use.

Homemade tortillas in about two minutes. Once you try it, you do not go back to store-bought.
Jake refuses to grill without these. Good grip, locks closed for the drawer.
This post contains affiliate links. As an Amazon Associate, I earn from qualifying purchases at no extra cost to you. I only recommend tools I actually use. See all my kitchen picks