Wyatt was five the first time school got cancelled for snow. He came padding into the kitchen in his too-big dinosaur slippers and found me already at the counter with flour on my hands. “Waffles?” he whispered, like he couldn’t quite believe his luck. Snow day and waffles. For a five-year-old, that’s basically winning the lottery.
There’s a sound our farmhouse makes on snow days that I love—this particular quiet that happens when the world outside goes white and still, and inside, it’s just the waffle iron hissing and the kids arguing about who gets the first one. Nana Ruth used to separate her eggs when she made pancakes, and I borrowed that trick for these waffles. Whipping the whites and folding them in gives you waffles that are crispy on the outside and impossibly fluffy inside.
Our waffle iron is older than Wyatt. It was a wedding gift from Jake’s aunt Donna—one of those heavy, no-frills ones that takes forever to heat up but makes waffles with deep pockets that hold syrup like little reservoirs. I’ve been asked if I want to upgrade. The answer is always no.
I also add a splash of vanilla and just a pinch of cinnamon to the batter, because Nana Ruth believed every batter deserved “a little something extra.” The cinnamon isn’t strong enough to taste directly, but it rounds out the flavor in a way that makes people say “what’s in these?” without being able to pinpoint it.
How to Make Snow Day Waffles
Separate the eggs and start the dry ingredients. You need the whites in one bowl and the yolks in another. In a large bowl, whisk together flour, baking powder, a little sugar, salt, and that pinch of cinnamon. This separation step is the secret—it’s what makes these waffles different from every other waffle recipe.
Mix the wet into the dry. Whisk the egg yolks with buttermilk, melted butter, and vanilla, then pour into the flour mixture. Stir until just combined—some lumps are fine and actually preferred. Overworking waffle batter makes them tough.
Whip the egg whites and fold them in. Beat the whites with a hand mixer until they hold stiff peaks. Gently fold them into the batter in two additions. Don’t stir—fold. You want to keep as much air as possible. The batter should look fluffy and a little billowy.
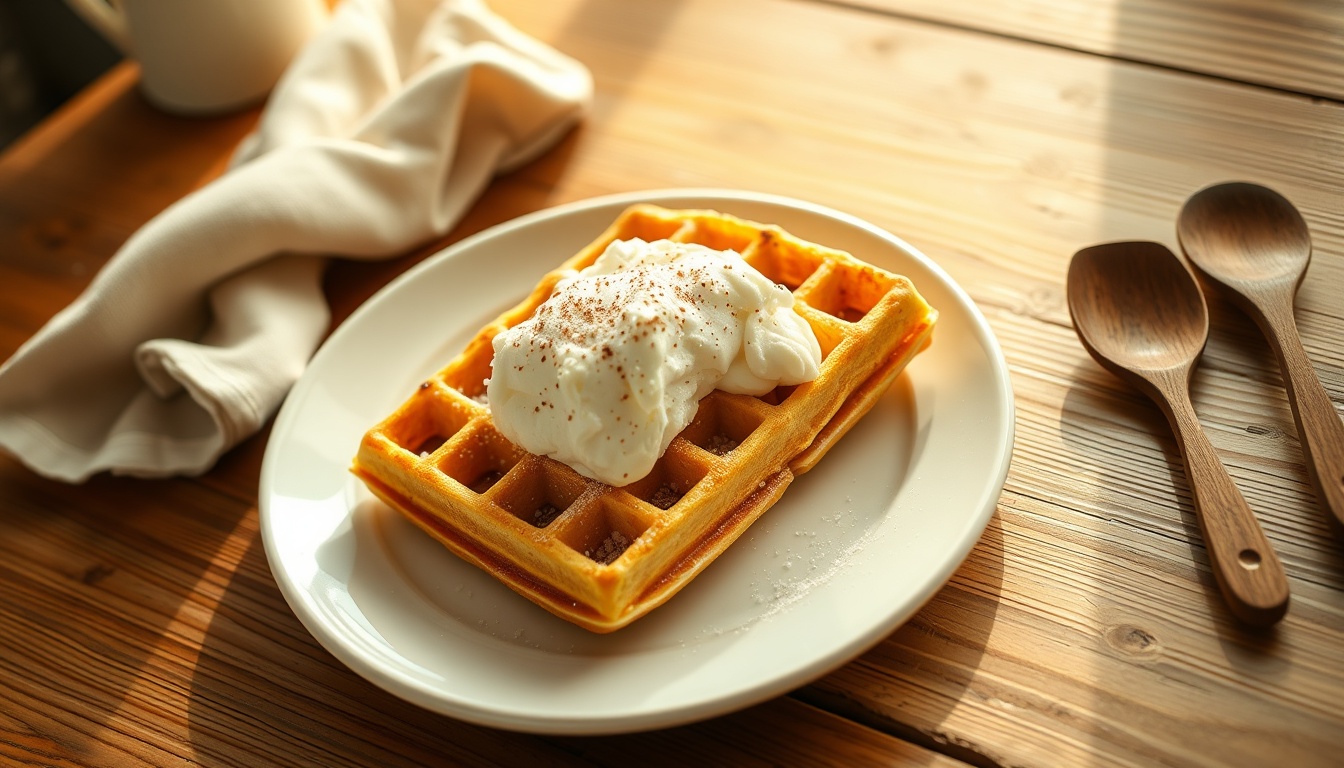
Cook in a hot waffle iron. Let the batter rest for about 10 minutes while the iron heats up. Pour enough batter to fill the iron without overflowing, close it, and wait. Don’t open it too early—when the steam stops coming out, they’re close. You want them golden brown and crisp. Serve immediately with butter, warm maple syrup, and whatever fruit you’ve got. On snow days, we add whipped cream because rules don’t apply when school is cancelled.
Love your cast iron? Check out my Kitchen Gift Guide for more of the tools I actually use and recommend to friends.

Maggie's Snow Day Waffles
Ingredients
- 2 cups all-purpose flour
- 2 tablespoons sugar
- 1 tablespoon baking powder
- 1/2 teaspoon salt
- 2 large eggs separated
- 1 3/4 cups milk
- 1/2 cup melted butter
- 1 teaspoon vanilla extract
- maple syrup and butter for serving
Instructions
-
Preheat your waffle iron. Whisk together flour, sugar, baking powder, and salt in a large bowl.
-
In a separate bowl, whisk egg yolks, milk, melted butter, and vanilla together.
-
Pour wet ingredients into dry ingredients and stir until just combined (a few lumps are fine).
-
Beat egg whites with a hand mixer until stiff peaks form. Gently fold into the batter — this is the secret to extra-fluffy waffles.
-
Cook in the waffle iron according to manufacturer's directions until golden and crisp.
-
Serve immediately with warm maple syrup and a pat of butter.
Common Questions
What I Use for This Recipe
A couple things from my kitchen that make this one easier.

The skillet that never leaves our stovetop. Pre-seasoned, affordable, and built to last.

Pancakes slide right off. Eggs never stick. The pan the kids are actually allowed to use.

Every frosting, every batter, every whipped cream. Light enough that my wrist survives a double batch.
This post contains affiliate links. As an Amazon Associate, I earn from qualifying purchases at no extra cost to you. I only recommend tools I actually use. See all my kitchen picks