On a rainy Saturday afternoon, Wyatt and Mason decided they were going to “help” with baking. What they really meant was they were going to get into everything while I tried to teach them the most important skill a baker needs: patience. Spoiler — they failed spectacularly, and the results were delicious anyway.
I’ve made these butter cookies about a thousand times — once for every school bake sale, church potluck, and family gathering in the last ten years. The recipe came from my grandmother, who never wrote anything down. “Your hands should remember,” she’d say. So I learned it through pure repetition and more than a few charred batches along the way. But the basic method is timeless: good butter, a light hand, and enough vanilla that your kitchen smells like Christmas in March.
The boys had other ideas. Mason wanted to add “extra flavor” — his words for chocolate chips, sprinkles, and a handful of crushed candy canes, because why not? Wyatt just wanted to eat the dough. Clara, being Clara, sat at the table with the recipe card and made sure I didn’t skip any steps. What started as a simple baking lesson turned into the most chaotic, flour-dusted, laughter-filled afternoon we’d had in months. And that’s exactly how these butter cookies earned their name.
Ingredients
Makes about 36 cookies
- 1 cup (2 sticks) unsalted butter, softened to room temperature
- ¾ cup granulated sugar (not powdered — plain old white sugar)
- 1 large egg yolk
- 2 teaspoons pure vanilla extract (don’t skip this)
- 2 cups all-purpose flour
- ¼ teaspoon salt
- Optional chaos additions: sprinkles, mini chocolate chips, crushed candy canes, or whatever your kids dream up
Instructions
Step 1: Cream the Butter and Sugar
In a large mixing bowl, combine the softened butter and sugar. Using a hand mixer or a wooden spoon (my preference when the kids are helping — it builds arm strength and slows them down), beat until the mixture is light and fluffy. About 3 minutes with a mixer, 5 to 10 minutes by hand. This step matters more than you’d think. You’re incorporating air into the dough, which is what makes these cookies tender instead of dense. Don’t rush it. This is where Wyatt got impatient and started dipping his finger in the bowl. I pretended not to notice.
Step 2: Add the Egg Yolk and Vanilla
Crack your egg and separate the yolk from the white. Save the white for something else — an omelet, a face mask, whatever you like. Add just the yolk to the butter mixture along with the vanilla extract. Mix until everything is combined, about 1 minute. The dough should be creamy and pale yellow.
Step 3: Whisk the Dry Ingredients
In a separate bowl, whisk together the flour and salt. This ensures the salt is evenly distributed throughout — a small step that makes a real difference. Clara measured everything precisely. Mason tried to “help” by adding an extra scoop of flour. We caught him.
Step 4: Bring It All Together
Fold the flour mixture into the butter mixture gently, using a spatula or wooden spoon. Don’t overmix — stir just until you can’t see any white streaks of flour. Overmixing develops the gluten and makes tough cookies. We want tender, melt-in-your-mouth ones. This is where I told Mason “no more mixing” and he handed the spoon to Clara, who finished it perfectly.
Step 5: Chill the Dough
Cover the bowl with plastic wrap and refrigerate for at least 30 minutes. I know waiting is hard — trust me, I had two boys circling the kitchen like sharks during this part. But chilling keeps the cookies from spreading into flat puddles on the baking sheet. Preheat your oven to 350°F (175°C) while you wait.
Step 6: Shape and Decorate
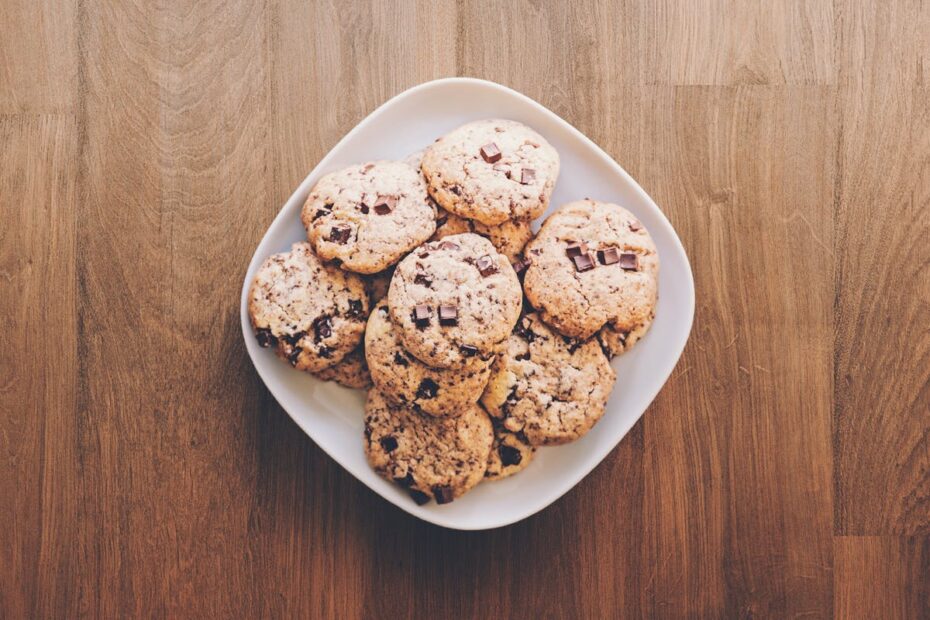
Using a small cookie scoop or a teaspoon, drop balls of dough onto a parchment-lined baking sheet, about 2 inches apart. Press each one gently with the bottom of a glass to flatten slightly. Now’s the time for the chaos — add sprinkles, press in chocolate chips, or let your kids create whatever topping combinations their hearts desire. Wyatt’s chocolate chip situation was frankly excessive, but festive. Mason went full sprinkle rainbow. Clara made neat rows of perfectly placed chocolate chips. All three approaches worked.
Step 7: Bake
Bake for 10 to 12 minutes, until the edges are just barely golden. The centers should still look slightly underbaked — they’ll firm up as they cool. If you wait until they look fully done in the oven, they’ll be too crispy by the time they cool. Pull them out when your instinct says “maybe one more minute.” That’s the moment.
Step 8: Cool (If You Can)
Let the cookies cool on the baking sheet for 5 minutes. Don’t touch them — they’re fragile right now. Then transfer to a wire rack. This is when Wyatt and Mason actually cooperated for the first time all afternoon. They both wanted a warm cookie, so they worked together to clear space on the cooling rack. Teamwork, finally.
Pro Tips from Maggie’s Kitchen
- Room temperature butter is everything. Cold butter won’t cream properly, and melted butter makes flat cookies. If you forgot to set it out, cut it into small cubes and let it sit for about 15 minutes.
- Use real vanilla extract, not imitation. The flavor difference is night and day, especially in a simple cookie where vanilla is front and center.
- Don’t skip the chill time. I know it’s tempting. But skipping it results in flat, greasy cookies that run together on the pan.
- Parchment paper, always. It releases cleanly, prevents over-browning on the bottom, and saves you from scrubbing cookie sheets.
- Taste the dough. Yes, I said it. A small taste tells you if the balance of butter, sugar, and vanilla is right. If the dough tastes good, the cookies will too.
Why We Make This
These butter cookies taught my kids how to bake. Not perfectly — Wyatt still sneaks dough when he thinks I’m not looking, and Mason’s idea of “measuring” is more of a suggestion than a science. But Clara’s learning precision and patience, and even the boys are starting to understand that good things take a little time and care.
For your family, this recipe is a foundation. Master the basic butter cookie, and you can build anything from there — add lemon zest for spring, dip them in melted chocolate for Christmas, press your thumb in the center and fill with jam for something fancy. The base never changes. It’s been tested by generations because it simply works.
Make these with your family. Let them add their own chaos to the dough. Let the sprinkles land where they land. That’s where the real recipe lives — not in perfectly uniform cookies from a bakery box, but in the memory of standing in the kitchen together, flour on everyone’s faces, arguing about who gets to lick the spoon.
What’s your family’s favorite cookie chaos? I’d love to hear about your kitchen disasters turned delicious — leave a comment below or tag us when you make your own batch of Chaos Cookies.