There’s a photograph somewhere in a box at my mother’s house — Nana Ruth at her kitchen counter, flour up to her elbows, with this satisfied grin on her face like she’d just cracked a code the rest of us were still working on. She was making soda bread. She made it every St. Patrick’s Day, every Sunday during Lent, and honestly any time she wanted bread and didn’t feel like waiting for yeast to do its thing.
Her grandmother brought this recipe over from County Cork, and Nana Ruth guarded it like it was worth something — which it was. The secret, she told me when I was maybe ten years old and standing on a stool beside her, is to handle the dough as little as possible. “Touch it like you’re afraid of it,” she’d say. “The less you fuss, the better it turns out.” That advice has applied to a surprising number of things in my life since then.
The cross on top isn’t just for looks. Nana Ruth told me it lets the heat into the center and lets the devil out. I have no idea if that’s theologically sound, but I’ve never skipped it.
Clara helps me make this now, and she’s got the light touch down better than I do. Mason mostly stands nearby eating raw flour off his fingers, which I pretend not to notice. And Jake, who grew up eating Wonder Bread and thought all bread was supposed to be soft and square, now asks for this loaf by name.
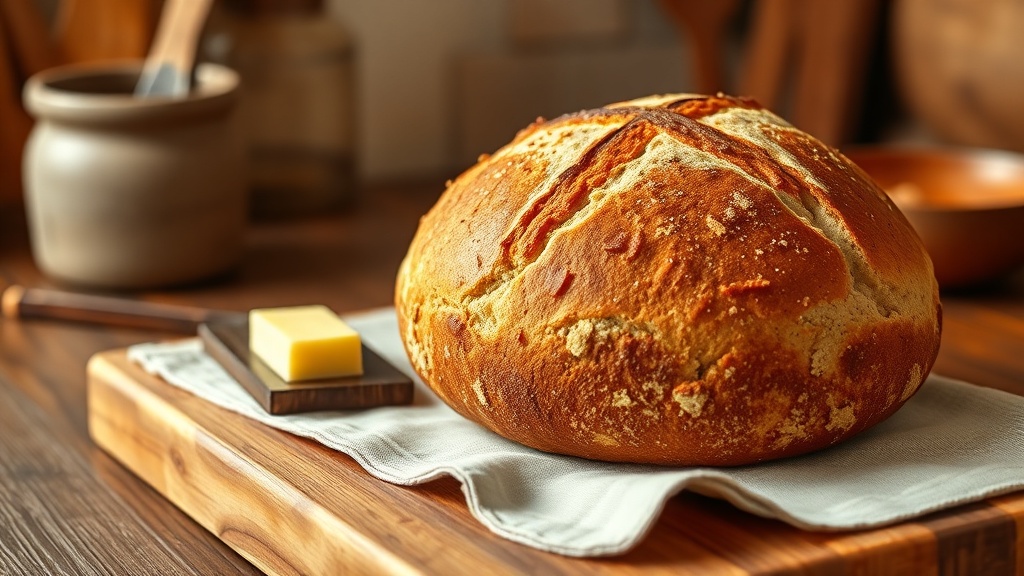
Nana Ruth's Irish Soda Bread
Ingredients
- 4 cups all-purpose flour plus extra for dusting
- 1 teaspoon baking soda
- 1 teaspoon salt
- 1 3/4 cups buttermilk
Instructions
-
Preheat your oven to 425°F. Lightly flour a baking sheet or line it with parchment paper.
-
In a large bowl, whisk together flour, baking soda, and salt. Make a well in the center and pour in the buttermilk.
-
Using a fork, stir gently until the dough just comes together — it will be shaggy and rough. Do not overmix. Turn it out onto a floured surface and shape it into a round loaf about 7 inches across. Handle the dough as little as possible.
-
Place the loaf on the prepared baking sheet. Using a sharp knife, cut a deep cross into the top — about 1/2 inch deep. Nana Ruth said it lets the heat in and the devil out.
-
Bake for 40-45 minutes until the loaf is golden brown and sounds hollow when you tap the bottom. Let it cool on a wire rack for at least 15 minutes before slicing.
Recipe Notes
This is best eaten the day it's made. If you have leftovers, slice and toast them the next morning — they're almost better that way with a little honey butter.
What I’ve Learned Making This Every Year
The biggest mistake people make with soda bread is overworking the dough. It’s not like regular bread — you don’t want to knead it smooth. Mix it until it just barely comes together, shape it gently, and get it in the oven. The less you handle it, the more tender it’ll be.
Nana Ruth always added a handful of raisins, which I do too, but Jake’s not a raisin person. If that’s you, leave them out — the bread is just as good without them. Some years I add caraway seeds instead, which gives it that old-fashioned bakery taste that takes me right back to her kitchen.
What I Use for This Recipe
A couple things from my kitchen that make this one easier.
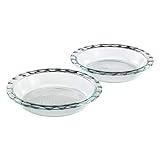
Mixing, marinating, doubling recipes. Glass so I can see what I am doing and nothing stains.

Accurate and sturdy. The kids borrow them for science projects, but they always come home.
This post contains affiliate links. As an Amazon Associate, I earn from qualifying purchases at no extra cost to you. I only recommend tools I actually use. See all my kitchen picks