It was an afternoon after school, the kind of afternoon where the house settles into that particular quiet that only happens when one kid is somewhere else. Wyatt was at baseball practice. Clara was at a friend’s house. And Mason—my youngest, my baby, the one who still fits under my arm when he sits next to me on the couch—was standing on his stool in the kitchen.
“Mom,” he said, and there was something in his voice that stopped me mid-sip of lukewarm coffee. “Can I make something? Like, all by myself?”
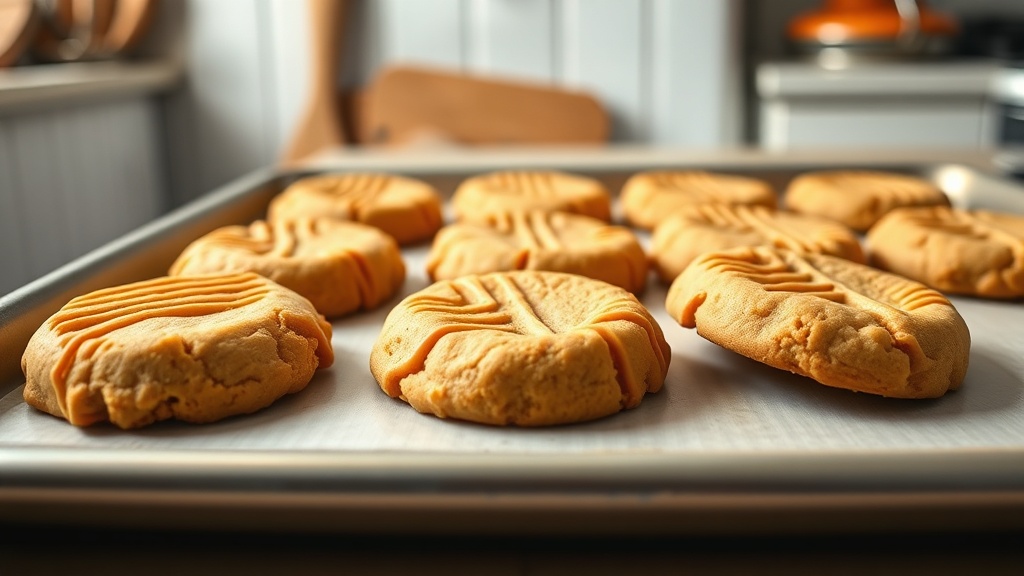
That’s when I remembered Nana Ruth’s cookies. My grandmother made these cookies when I was Mason’s age—maybe a year or two older. I remember standing on a stool just like his, watching her hands move through the motions. One cup of peanut butter. One cup of sugar. One egg. That’s it. Three ingredients. No flour, no butter, no baking soda. Just those three things, mixed together, rolled into balls, pressed with a fork, and baked until the edges set.
Mason mixed the dough himself. He cracked the egg (only two pieces of shell to fish out, which is honestly a personal best). He scooped the peanut butter with a determination that bordered on aggressive. He measured the sugar and leveled it off with a butter knife because Clara once told him that’s how real bakers do it. He pressed each cookie with a fork, making those crosshatch marks with the focus of a tiny surgeon.
When the timer went off and those cookies came out of the oven—golden around the edges, soft in the centers, the whole kitchen smelling like peanut butter and pride—Mason looked at them like he’d just built something important. And he had.
How to Make 3-Ingredient Peanut Butter Cookies
Mix everything together. One cup of peanut butter (creamy works best, but crunchy adds texture), one cup of sugar, and one egg. That’s the whole recipe. Stir it together in a bowl until it’s smooth and combined. The dough will be thick and slightly oily—that’s exactly right.
Shape and press. Roll the dough into tablespoon-sized balls and place them on a parchment-lined baking sheet about 2 inches apart. Press each one with a fork in a crosshatch pattern—this is the classic peanut butter cookie look, and it also helps them bake evenly. Mason takes this step very seriously.
Bake until the edges set. 350°F for 10-12 minutes. They’ll look slightly underdone in the center when you pull them out, and that’s perfect. They firm up as they cool. Overbaking makes them dry and crumbly—pull them when the edges are just golden.
Let them cool on the pan. These cookies are fragile right out of the oven because there’s no flour holding them together. Give them a full 5 minutes on the baking sheet before moving them to a wire rack. Once they’re cool, they’re perfectly chewy and rich and taste like you spent way more than 15 minutes making them.
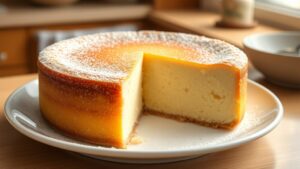
If Mason can make these, your kids can too. For another easy bake, try my Old-Fashioned Lemon Bars or Clara’s Thumbprint Cookies. And if you want something a little more impressive, my Japanese Cheesecake only takes two ingredients and looks like you spent all day on it.
Mason's 3-Ingredient Peanut Butter Cookies
Ingredients
- 1 cup creamy peanut butter room temperature
- 1 cup granulated sugar
- 1 large egg
Instructions
-
Preheat your oven to 350°F (175°C). Line a baking sheet with parchment paper.
-
In a medium bowl, stir together the peanut butter, sugar, and egg until completely combined and smooth. The dough will be thick.
-
Roll the dough into 1-inch balls (about 1 tablespoon each) and place them on the prepared baking sheet, about 2 inches apart. You should get about 24 cookies.
-
Using a fork, press a crosshatch pattern into the top of each cookie, flattening them slightly. Rotate the fork 90 degrees and press again to create the classic pattern.
-
Bake for 10-12 minutes, until the edges are just set but the centers still look slightly soft. Do not overbake — they will continue to firm up as they cool.
-
Let the cookies cool on the baking sheet for 5 minutes, then transfer to a wire rack to cool completely.
Recipe Notes
These are naturally gluten-free. Add 1/2 cup chocolate chips before rolling if desired.
Common Questions
More Recipes You’ll Love
- Resurrection Rolls (The Easter Morning Tradition Our Family Won’t Skip)
- Valentine Sugar Cookies
- Two-Ingredient Japanese Cheesecake
- Chaos Cookies (Easy Butter Cookies the Whole Family Will Love)
What I Use for This Recipe
A couple things from my kitchen that make this one easier.
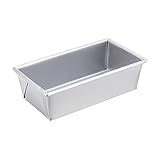
Cheesecakes that actually unmold in one piece. Worth every penny for special-occasion baking.
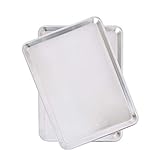
Good sheet pans that never warp in the oven. Years of cookies and sheet pan dinners.

Lemon zest, fresh parmesan, a little nutmeg. Tiny tool that makes everything taste more alive.
This post contains affiliate links. As an Amazon Associate, I earn from qualifying purchases at no extra cost to you. I only recommend tools I actually use. See all my kitchen picks